Saturday, 5 June 2021

Acrylic window material

 Ended up with 3/16" Acrylic.. 3 sheets of 4x8. I used Facebook Marketplace to source it. Got it from a carpenter that had a bunch of surplus including poplar, fir, mahogany and a maple burl from his shop in the film industry. This is from the production of the remake of the series "Shogun". It meant I got a reasonable price, $80 CDN ($65 USD) per sheet.. or 3 sheets foe $240 CDN. I did rent a 9x5 U-haul Trailer for $30CDN to transport it so I didn't scratch or bend it. I also spent about $15 CDN on gas for the round-trip of about 35 miles. I also bought the 5" x 8" x 48" maple burl.. for $30 that I thought might be good for the door sills.

That being said, I'm okay with the 3/16".. if anything it will give me some weight savings over the 1/4". Sometimes it just makes sense to use what you can get for a reasonable cost.


Monday, 24 May 2021

Installing roof planks

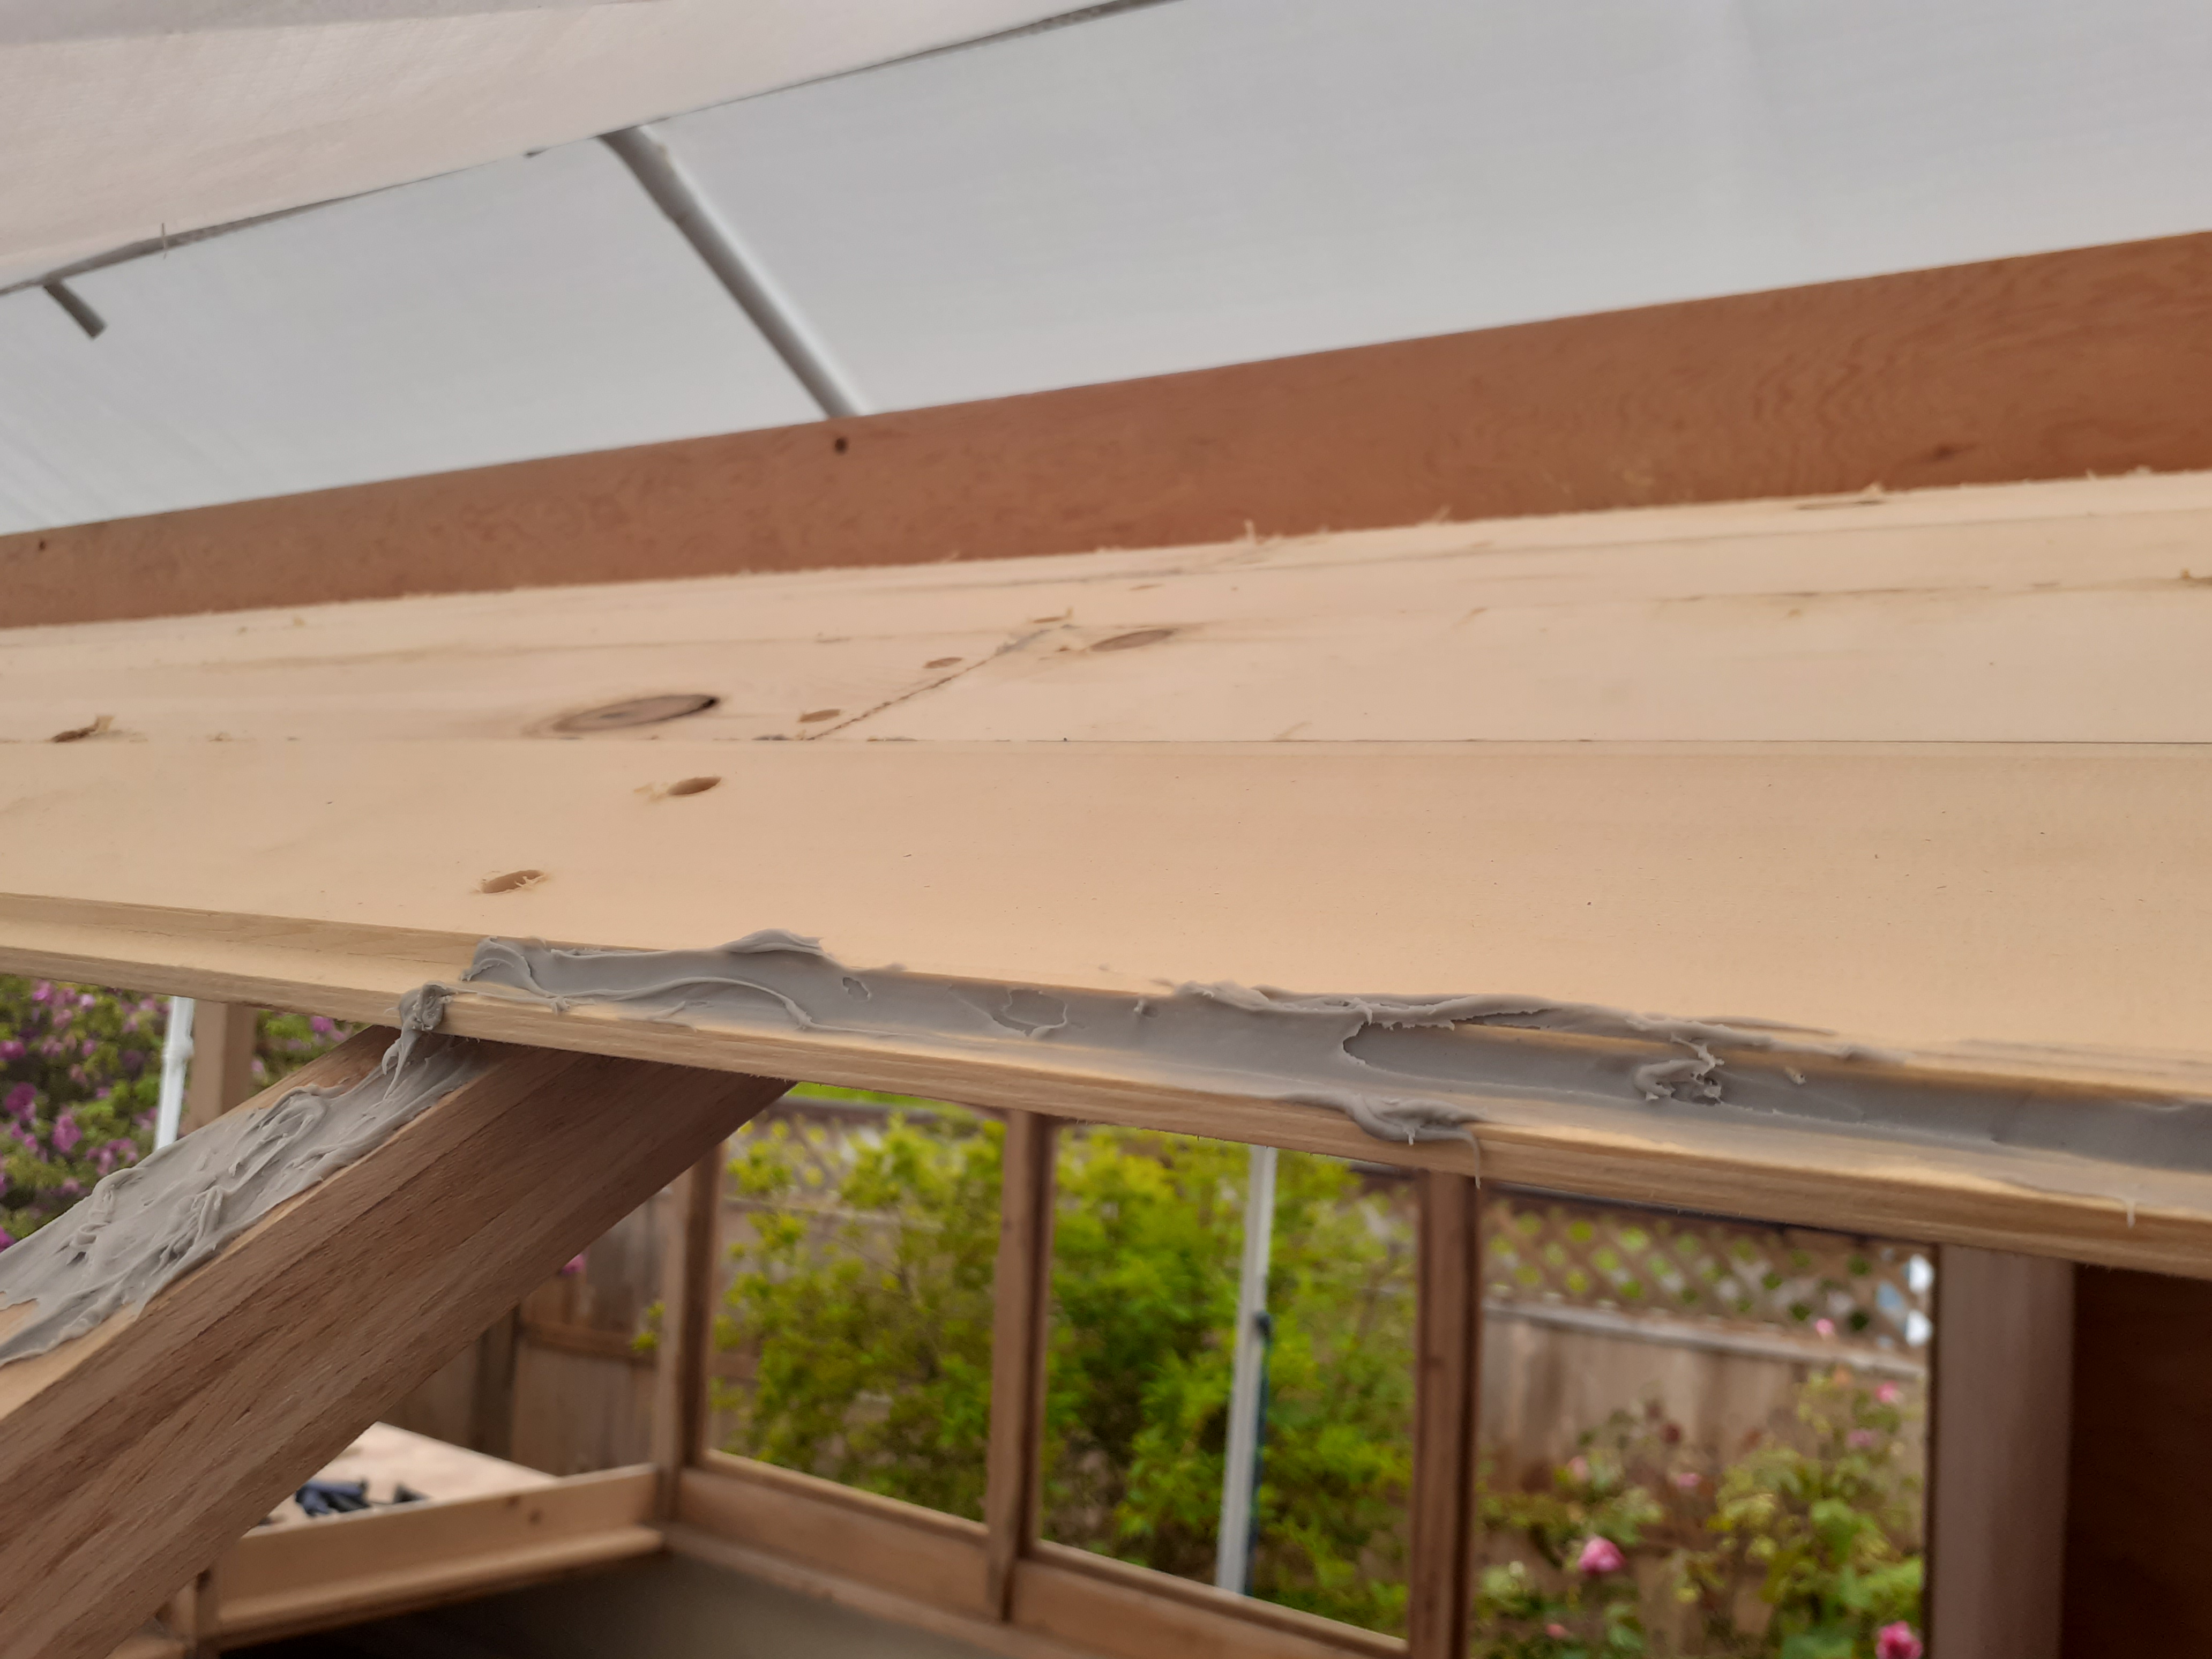
 Despite the rain I am making progress on the roof.. using PL Premium Max as the bonding adhesive. It has some great qualities, and most importantly works in the rain!! Especially since my shelter has now earned a couple small leaks!

So, I apply the Pl Premium Max in the groove and then on the topside of the tongue. I have been using a clamp to squeeze in the board. you can also just tap in light with a rubber mallet or push hard.. but the clamp is easy.
I then drill a hole with countersink for the stainless screws clamping the board in place while doing it. I will fill the hole with epoxy and wooden plug later. I know others have used nails, but this way I know I am not going to crack an oak roof beam.
I am working with 8ft and 3ft lengths offsetting the gap each end, so one row at the bow, and then on next row the seam is at the stern.
When I get a row in.. the PL has set enough that I just scrape the excess squeeze out off with a scraper. So far so good.. once I am done.. a light sand, hole plugs, and then sealed with epoxy and glass.


Starting the Roof - Pl Premium MAX adhesive?

 Started the roof today. Trying a new method to affix. I am using Pl Premium Max. Its a modified silane polymer (SMP) type glue and not a Polyurethane. I won't bore you with the science, Google it and theres lots of info.. but it means its super strong, and is 100% Solid.. which has been my biggest beef with regular PL Premium and it doesn't expand, bubble up and ooze all over. It also doesn't crack... It has twice the shear strength as regular PL Premium.. at about 1200psi douglas fir to douglas fir.

So why am I using it??. its easy to apply and clean up. I can use natural turps to clean tools, and wipe off unwanted areas.
I also don't have to wait for the right weather conditions and can apply even in the rain with a leaky roof tarp.
In fact, it so easy. I just use a putty knife to scrape off the glue squeezeout after 20 minutes when its semi soft for a clean finish.
So here's the info on the product. Once I'm done. I will coat the roof after a quick sand with epoxy and glass. But there has been some discussion about epoxy alternatives for gluebup. I don't know if its the right choice.. but it is working great for me. I am securing with stainless screws as well.

Saturday, 15 May 2021

The hatch

 Began building a somewhat traditional hatch.  I plane to use a lockmiter bit for the joinery on the sides.


Friday, 14 May 2021

Hatch and bulkhead assembled.

 A little more work.. got the head bulkhead fitted, and the skylight frame. Used a lockmitre bit and despite having the setup tool it was tricky.. I don't have the best router table.. but got it together.. the best thing it fits and it appears true... now to finish the framing for the head.. and complete the rest of the hatch.


Wednesday, 28 April 2021

Kermode Yellow Cedar

 , I headed out to Kermode Forest Products Ltd. that wholesales direct from the mill to the public to pick up Alaskan Yellow Cedar (Cypress) for the roof. Cupressus nootkatensis - which interestingly "nootkatensis" is derived from its discovery by Europeans on the lands of a First Nation of Canada, those lands of the Nuu-chah-nulth people of Vancouver Island, British Columbia, who were formerly referred to as the Nootka.

Part of my inspiration for the build, is to trailer it over to Nootka Sound.. and explore the many inlets..
Kermode forest products is interestingly named after the famed, "White Black Bear" called the Kermode Bear which is often referred to as "The Spirit Bear"
The Kermode Bear lives in the heart of the famous great bear rain forest on B.C.'s central coast region.
This spirit bear is a rare creature, symbolizing pristine wilderness conservation, sustainability and uniqueness. It is with this spirit of the Great Kermode Bear that Kermode Forest Products conduct their business. They claim to pride themselves on environmental sustainability and the quality of their products.
Anyways, despite all this fitting with the spirit of my build. I am very happy with the quality of the wood, and the price was reasonable. I saved a little over the cost of Spruce, but also got the wood I wanted. It certainly has gone up since I started the build , but I am not complaining at
.95/LF (CDN) about .65/LF U.S. for Select STK #1 1x4 T&G Yellow Cedar- I tried to get 1x3, but they only had "rough cut" - and it seemed like a lot of milling work. Worst case I can shave an inch off and run it through the router to create a new groove.


Wednesday, 14 April 2021

Dry fitting the roof framing - Roof or Ruff beams?

 Well .. starting to fit the roof framing.. dropping it in.. roof beams are up.. and just dry fit. Still lots to do, sanding, fairing, finishing, and making pretty.. but its coming together!

Do you say roof or ruff?