The backyard building and adventures of a small shanty/houseboat based on the "Dianne's Rose" design by Roy Schreyer. The designs can be found at https://www.roydesignedthat.com/
Well... making progress.. sort of... fixing some issues. I have the seams taped and now just need to fix some drips and some bad fillets.. and finish filleting. I"ve spent this rainy Canada day mostly sanding.. and scraping. When I first tried fillets I used the Dairy Queen spoon method.. and just like eating a peanut buster parfait made a big mess.. so now I am sanding and carefully scraping it much nicer. I also need to sand and coat the sides.. Not sure why I didn't do this on the work bench, but i think it was because I had an epoxy that was too thick and, more suited for glue up and laminating then sealing and coating. Anyways, that will wait for a drier day... The biggest issue is sitting in the boat and wanting to make motorboat sounds.... hopefully next Canada Day I can be out.. Peace out and be excellent!!!—feeling optimistic.
This boat requires the seams are "filleted" which provides stiffness and strength. Some of the filets like in the corners of the hull segments are more structural than others and requires a wide fillet.
There a different methods of doing fillets, I had up to this point been using the back of the spoon method, spreading the fillet with a putty knofe and then smoothing it into a large radius with the back of a DQ Spoon.
The method is shown in this video:
Howe, there are literally miles and miles of filets in this build, and now that the boat is flipped I have several small filets to do. There has to be an easier way!
Since I flipped my boat, I went to my local shop, and found the West System refillable caulking tubes for $3.99 (CDN) or about $3 (USD) a tube.
(I was actually going there to pick up some Interfibe to mix in with the wood flour for the fillet mix)
I filled them about 5/8 - 3/4 full with a slow setting fillet mixture. I did not cut the ends off like in the article. But I can say this is working great! It takes a few minutes to spoon in the mixture with a plastic spoon. I use a coffee can to hold the tube upright while I spoon it in, and let the mixture settle a couple minutes.
Pushing out the cap when you are done can be a little tricky, but isn't too hard. I poked a hole in a couple caps tapping them out with a rod.. but I have been able to patch them, and re-use it no problems. It hasn't been a big deal.
Another method imvolves using an air compressor, and simply using a blowtip to push the cap out using compressed air.. voila!
For those larger filleting jobs, I have to say this method is super clean, and easy - a little bit of setup and take down time.. but to be honest.. I am loving it...
Now that the hull is flipped, needed to put on a cover to keep the rain out! I setup a cheap "awning" that I got from my local Canadian Tire. The awning is weighted down with bags of sand.
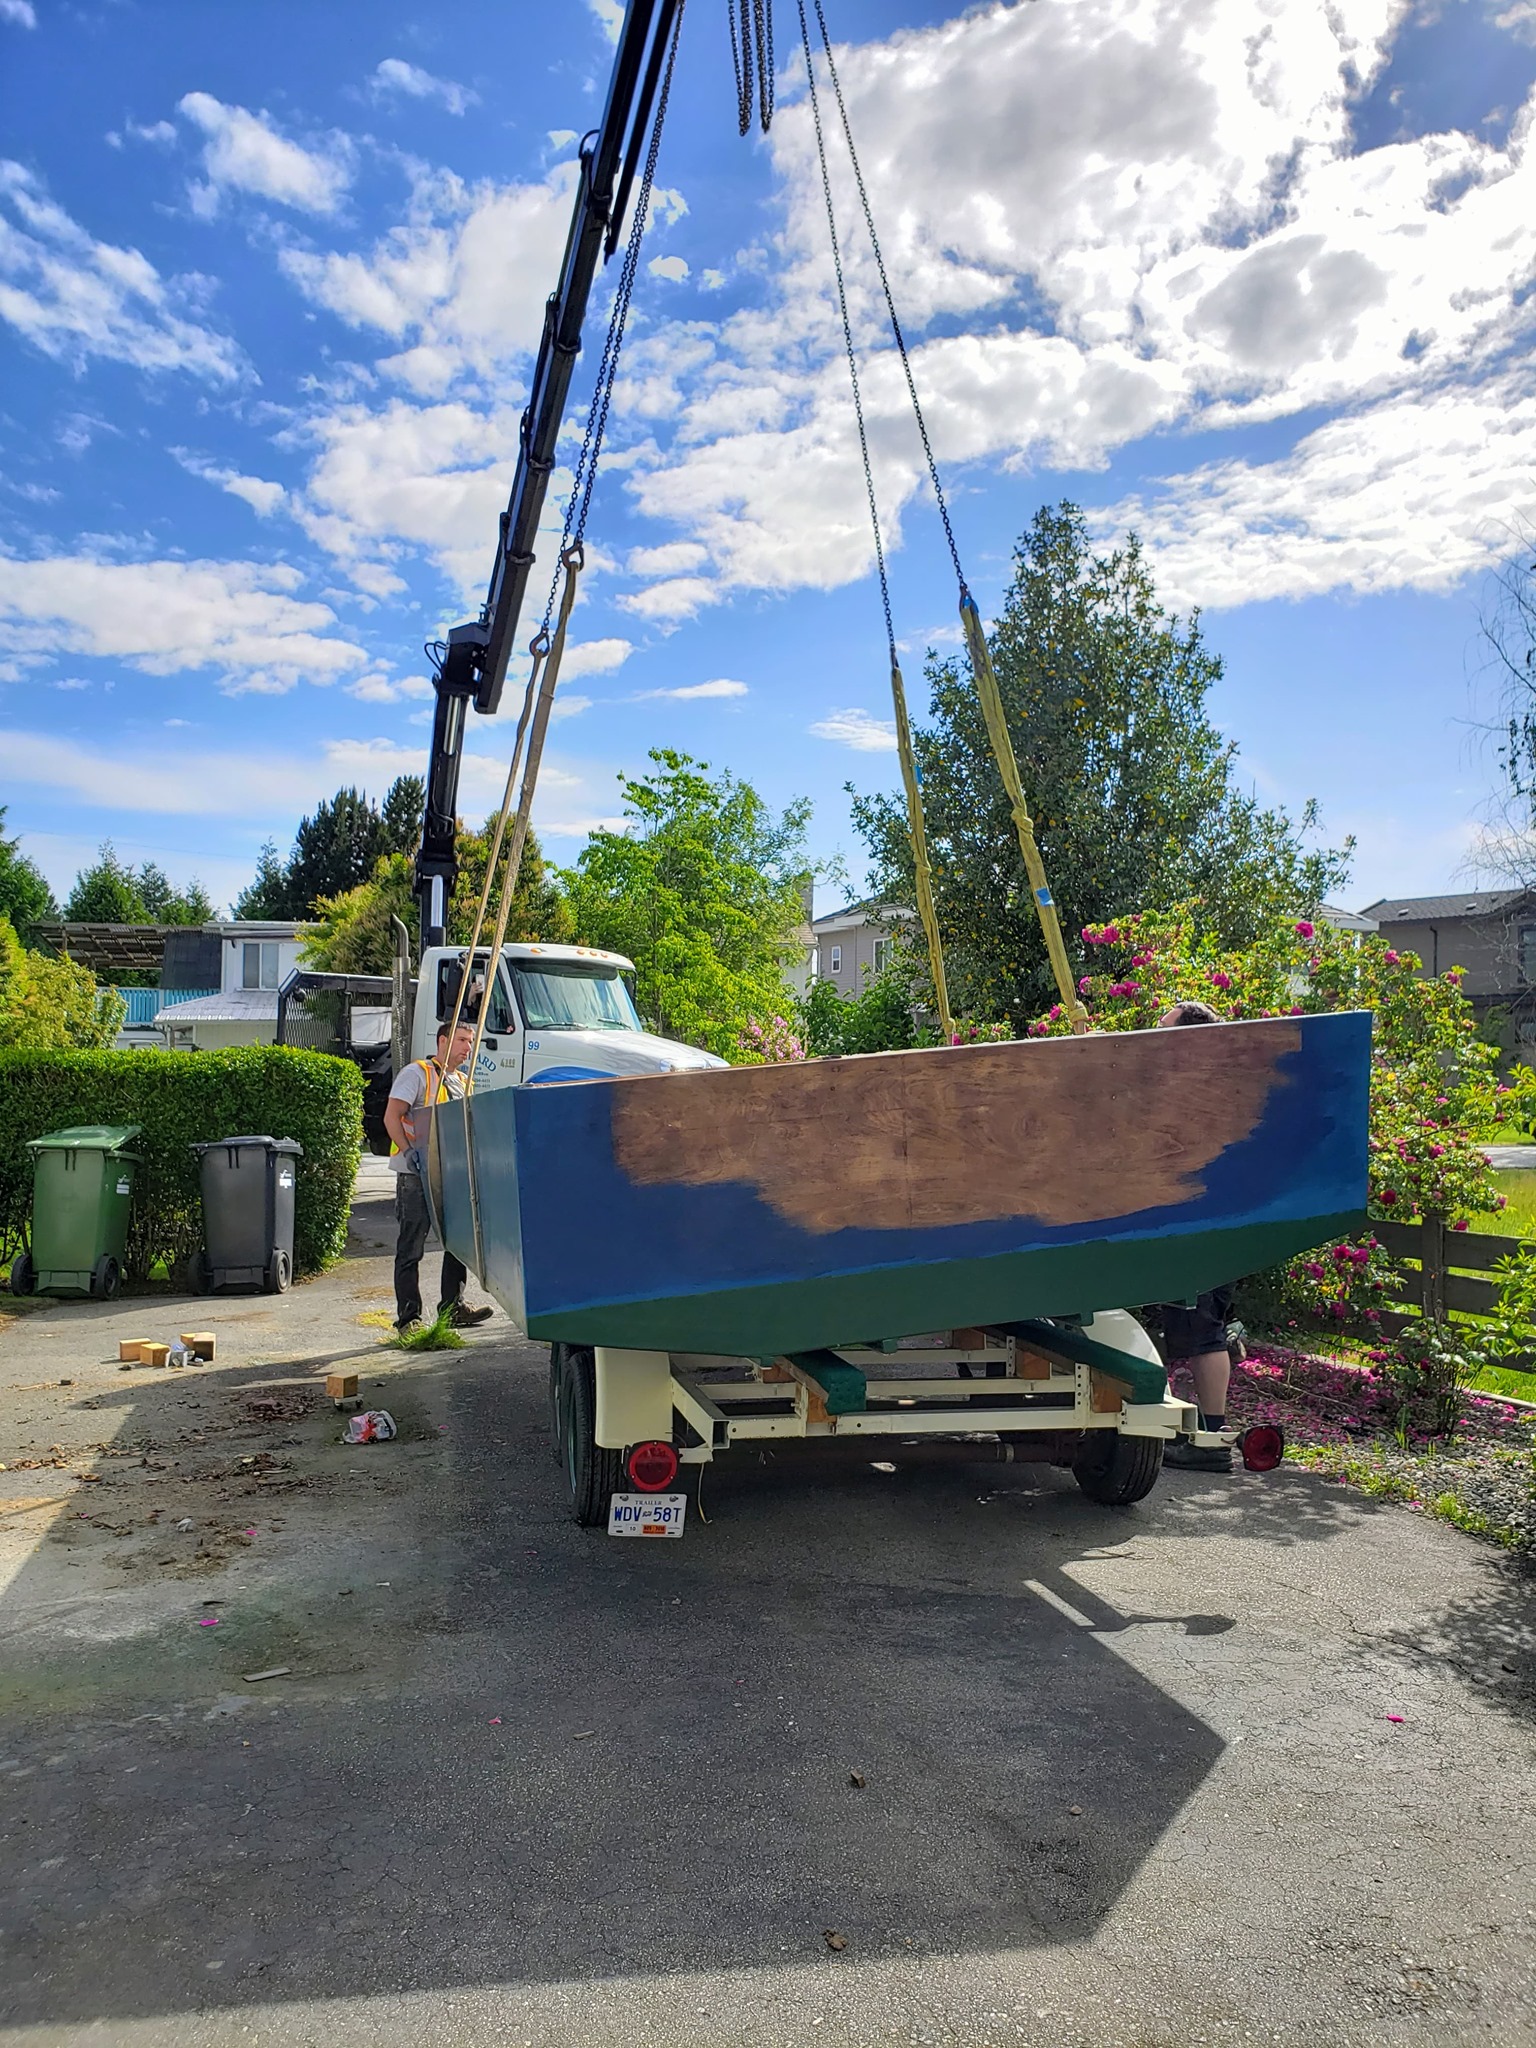
Today was a very exciting day! The Mystnyx mini-houseboat got flipped and placed on her trailer. Sequoia Cranes did an amazing job in less than an hour... from moving the trailer, to the flip, to having her in the driveway.
First up... was moving the trailer from the yard and getting it into position in the driveway for the boat to sit on. That went like butter. I think it took about a minute... it was neat seeing it lifted... and plopped down right where I wanted it.. the crane operator had a remote control.. so he could be right where the action was.
A COVID-19 flip.. not the way I originally planned, but it was from upside down to on the trailer in under an hour. It cost me about $145USD. But it is really nice having it setting on the trailer .. so she can get finished.. considering the trailer move and all that.. it was worth it! We can all celebrate once the restrictions are lifted!
Ok...finally making progress again on the boat. The last process completed was building the trailer.
Over the past few weekends, I welded onto the frame the fenders, brackets for the bunks and lights onto the trailer. I welded a tongue extension and changed out the coupler for a 2" ball. Both the coupler and the extension are secured by bolts as well as welds for extra security. I also welded some reinforcement steel to the sides of the trailer.
The trailer was painted an off-white ivory, which is the same colour as the boats waterline stripe (which I have yet to paint. I pulled the wheels off and made sure the bearings were greased and all true running, and painted the hubs to match the boat. (the inner star).
The rims I painted the same colours as the bottom of the boat, and then added new trailer lights and a license plate bracket.
I installed slightly less then 12' bunks with doubled 2x4 pressure treated lumber. The bunks were bolted onto yellow cedar blocks from the top, through the cross member and also sideways into the brackets I built to avoid "twist".
I got some premium outdoor carpet in remnet form End Of The Roll. They were super helpful in selecting the right carpet, and I got a smoking deal. It was also cool that it was in the same colour as the bottom of the boat. I like the fact that the carpet is 12 feet long so there are no seams. It was 3.9 feet wide, so I had enough, that I created a double layer and atteched it with a pneumatic stapler with galvanized 18ga narrow staples.
I then installed new trailer lights (which came with the trailer but were not installed when I bought it)
Finally good weather and time to work on the hull! The materials arrived from Pt. Roberts. I opted for aluminum keel runners .188 thick (3/16) to top off the maple & oak.. for the "sacrificial strip". Like everyone else before me, I was worried about galvanic action between dissimilar metals.. and debated using stainless steel strips instead of aluminum. The big cost factor convinced me otherwise. In the end, I decided on trying American made aluminum screws. To say the least, I wasn't sure about the strength, but my experiment has paid off.. I can torque them down as tight as I need to and haven't had any snapping problems or stripped heads. I think this in part to made in usa versus China. I used Sikaflex as a bedding/bonding agent liberally applied and spaced the screws 1 foot apart. I countersunk the heads slightly.. I thought I had ordered oval heads that taper but they were the round ones... I did drill pilot holes, which I would have done anyhow as oak and maple can be prone to splitting.

 feeling optimistic.


.jpg)


.jpg)